中文
中文 Русский
 Español
How to replace a fuel relay on a 1997 goldwing1500?
Publish Time: Author: Site Editor Visit: 702

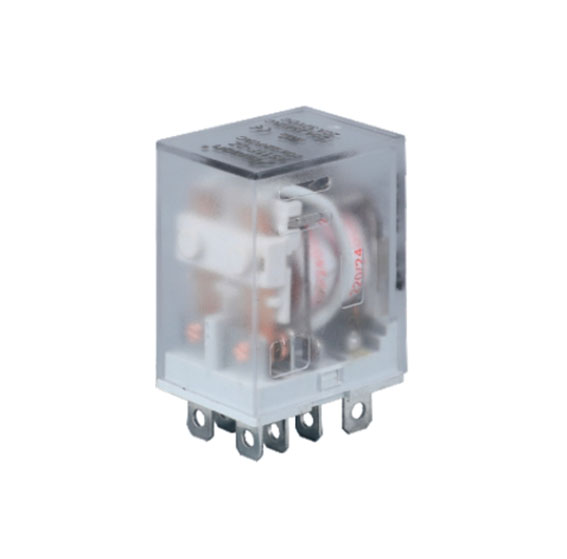
Here are the general steps to replace a fuel relay on a 1997 Goldwing 1500. Before starting, make sure to disconnect the battery to avoid any electrical shock or short - circuit hazards.
Step 1: Locate the fuel relay
- The fuel relay on a 1997 Goldwing 1500 is typically located in the fuse and relay box. On this model, the fuse and relay box is usually found in an accessible area near the battery or under the seat. You may need to refer to the motorcycle's service manual for the exact location.
Step 2: Access the fuse and relay box
- If the relay box is under the seat, you'll first need to remove the seat. This often involves using a key to unlock the seat latch and then lifting the seat off.
- If it's in another location, remove any covers or panels that are blocking access to the box. Some covers may be held in place with screws or clips. Use the appropriate tools (such as a screwdriver for screws or a trim removal tool for clips) to remove them carefully.
Step 3: Identify the fuel relay
- The relay box usually has a diagram on the cover or inside that shows the location and function of each relay. Look for the label or number corresponding to the fuel relay. The fuel relay may also be identified by its shape and size, as well as its proximity to other related components.
- You can also refer to the service manual, which will have a detailed diagram of the relay box and clearly mark the fuel relay.
Step 4: Remove the old fuel relay
- Most relays are simply plugged into sockets. Gently grasp the relay by its body (not the wires) and pull it straight out of the socket. If it's difficult to remove, you can use a pair of needle - nose pliers to grip the relay more firmly, but be careful not to damage the relay or the socket.
- As you remove the relay, take note of its orientation and any markings on it. This will help you install the new relay correctly.
Step 5: Inspect the relay socket
- Before installing the new relay, visually inspect the socket for any signs of damage, such as melted plastic, burned contacts, or loose connections. If you notice any damage, it may need to be repaired or replaced before installing the new relay.
- Use a small brush or compressed air to clean any dirt or debris from the socket.
Step 6: Install the new fuel relay
- Take the new fuel relay and align it correctly with the socket, making sure to match the orientation of the pins with the socket holes.
- Gently push the relay into the socket until it is fully seated. You should feel a slight click or resistance when it is properly installed.
Step 7: Reassemble the components
- Put back any covers or panels that you removed to access the relay box. Make sure they are securely fastened.
- If you removed the seat, re - install it and lock it in place.
Step 8: Reconnect the battery
- Reconnect the negative terminal of the battery first, followed by the positive terminal. Make sure the connections are tight.
Step 9: Test the motorcycle
- Start the motorcycle and listen for the fuel pump to prime. If the motorcycle starts and runs smoothly, the fuel relay replacement was successful. If there are still issues, such as the motorcycle not starting or running poorly, there may be other problems with the fuel system or electrical system that need further diagnosis.
It's important to note that if you're not confident in performing these steps, it's recommended to take your motorcycle to a qualified mechanic or a Honda dealership for professional assistance.If you want to know more about relay, please contact us.